
 Is your life challenging? God wants us to know peace that passes understanding.
Enjoy everyday reminders with me, when God calls us to “Come, have a peace!”
Is your life challenging? God wants us to know peace that passes understanding.
Enjoy everyday reminders with me, when God calls us to “Come, have a peace!”

 |
| Closing my eyes in joy ;) |
Tara started with a recipe from the Active Life Cooking blog and modified it to suit our tastes; she's come up with a version we all so love. She even made a batch as a birthday gift for my trail running/loving husband this spring. Put these on your summer snack plan. These are PERFECT for hiking and camping, but I wouldn't wait until you're on the trail to make these awesome snacks.

Tara's Granola Bars
Ingredients:
 • 2 cups Old Fashioned Oats
• 2 tbsp of your favorite “chaser”: like millet (shown), flax seed, wheat germ, etc. (optional - but Tara uses some, and it's great.)
• 1/2 cup Smooth Peanut Butter
• 1/2 cup Honey
• 1 tbsp Brown Sugar (optional) (I have NO IDEA why Blogger lined this up over here!)
- 1/2 cup of your favorite “mix-ins,” like sunflower seeds, raisins, cranberries, dried blueberries, figs, almonds, pecans, whatever your hiking friends love
- 1 tsp salt (optional, and really not needed if you use salted butter or salted nuts)

- Preheat oven to 400F.
- Prepare a small saucepan with honey, peanut butter, & brown sugar (if using).
- Line a 9×9 baking dish with parchment paper.

- Spread the oats (and chaser if needing toasting, such as millet or almonds) onto a deep dish baking pan. Place pan into oven.


- Turn the saucepan to low to med-low heat.
- *You want the mixture to get warm and combine smoothly, but be careful not to burn.
- While oats toast, prepare additives in a med mixing bowl.
- Watch oats closely so they don't over brown or burn.
- When golden brown, remove from oven. (About 5-10 min. baking, shoot for 7)

- When oats are done, combine with the additives in the medium bowl.
- On top of this, add the peanut honey mixture.
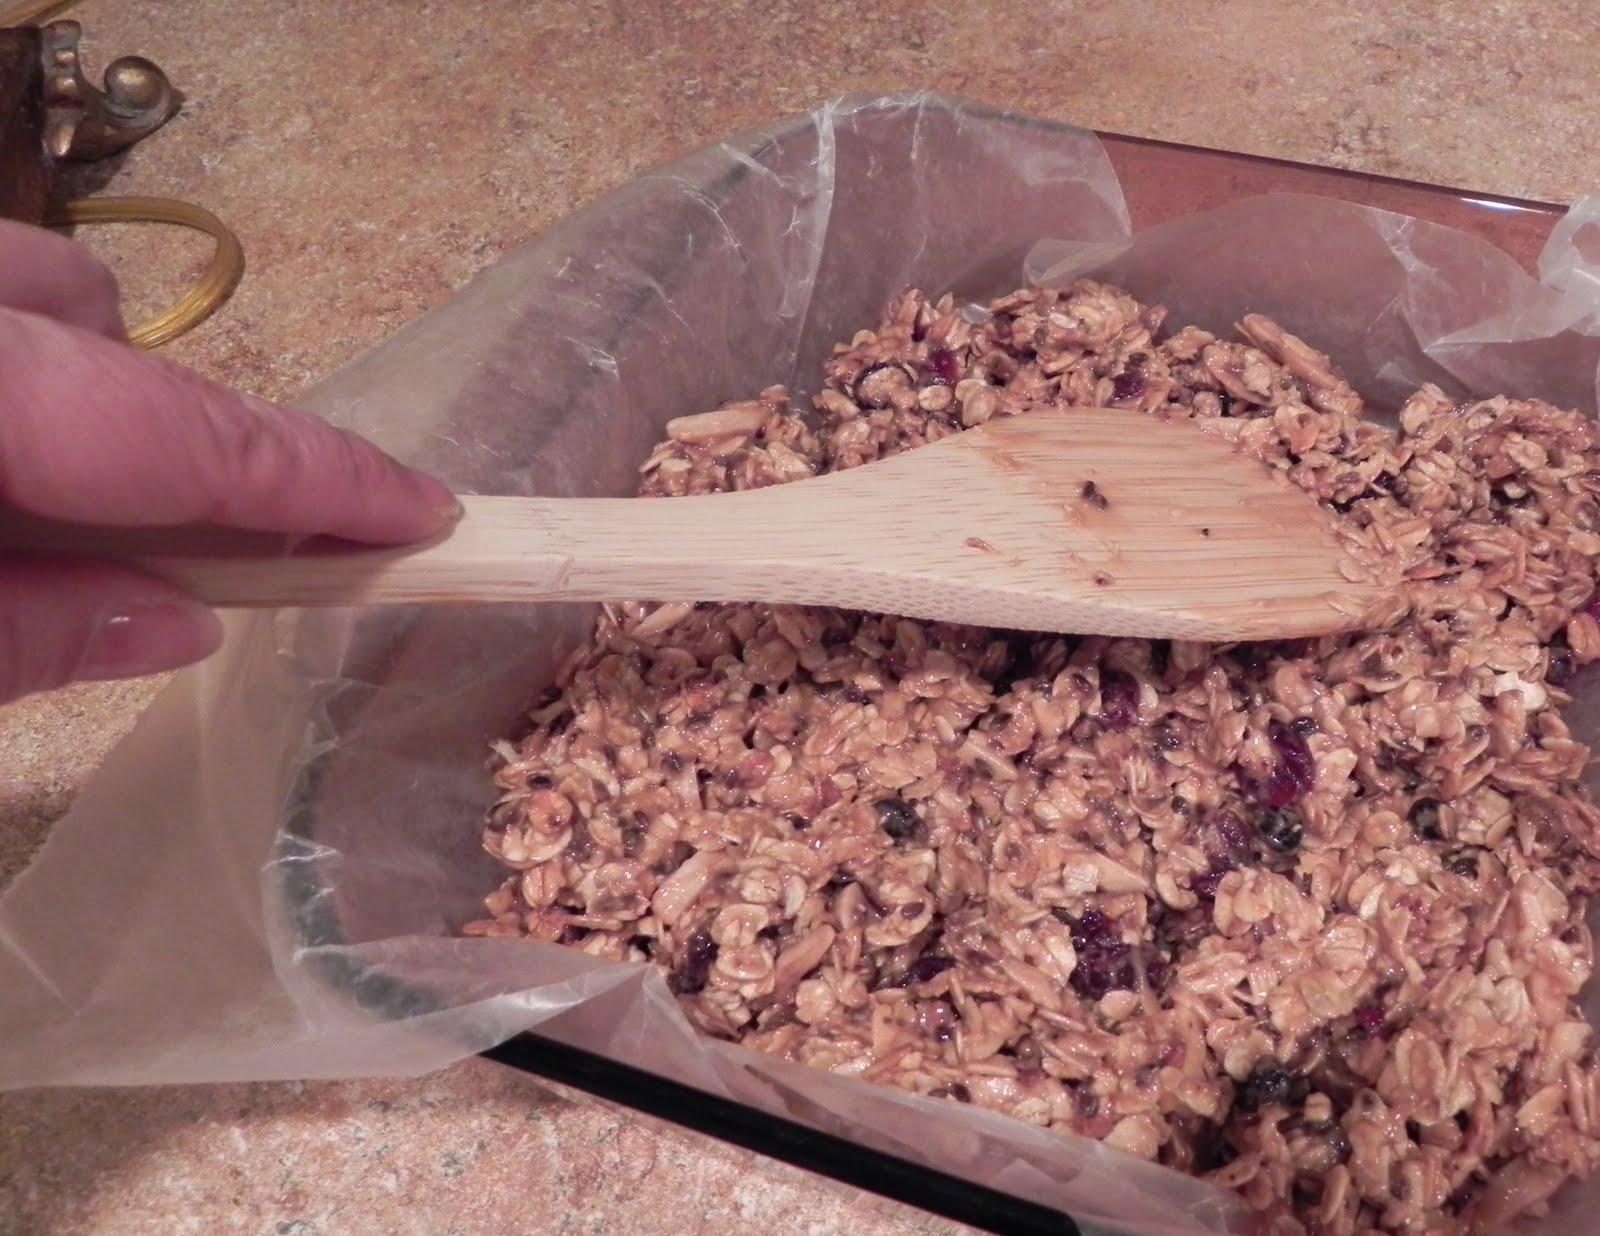
- Mix well with a wooden spoon; this takes a little kitchen muscle.

- Put the mixture into the dish lined with parchment paper and spread evenly.
- They should be about 1/4 inch deep.
- Carefully lift out paper from baking dish and cool on baking rack.
- After about 30 min or when cool, flip the bar over to cool completely.
- After they've cooled some more, score the bars.
Makes 18 bars ... and very happy, energetic hikers. :) This I speak from experience!


4 COMMENTS ~ Click here to leave a COMMENT:
jul, you referred to salted butter, but I didn't see any listed in the ingredients. Also, do you bake these (you referred to cooling them on a rack). Just wanted to clarify due to my limited cooking skills :-) Thanks for a yummy looking recipe (thank you to Tara too!). Love U, Jenny
YAY I love these bars!
Jenny, you don't bake them. They have to cool because the peanut butter and honey are hot from the stove. And sometimes to help them cool faster I put them in the fridge. In fact, I often store them in the fridge even though that isn't required. Hope you make them!
And you know we love you for more than your granola bars. ;)
Julie Sanders www.comehaveapeace.blogspot.com
There's "unsalted" or "salted" butter. I really can't tell much of a difference. Tara doesn't add extra salt or the brown sugar. You can do these! And no baking required. Be sure to see Tara's comment in response to you. She is the voice of "granola experience." ;)
Julie Sanders www.comehaveapeace.blogspot.com
Post a Comment